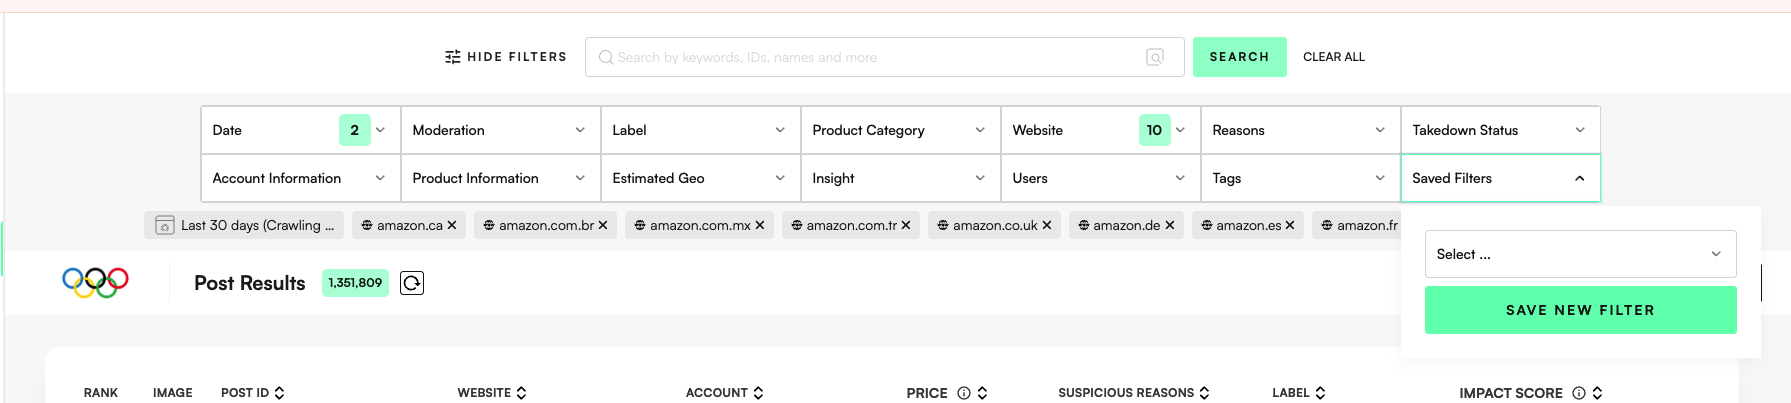
Add your desired filter values and click search/refresh to check the results are as you’d expect.
Click ‘Saved Filters’ filter > ‘Save New Filter’.
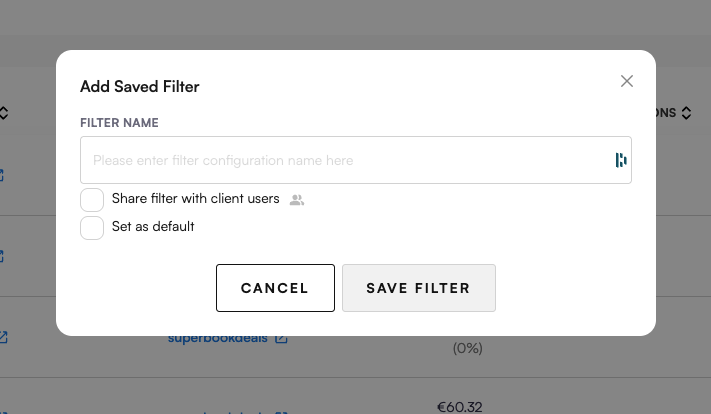
Add a Filter name that describes the filter. Use ‘Set as default’ to automatically apply this filter every time you open the feed view.
Click ‘Save Filter’.
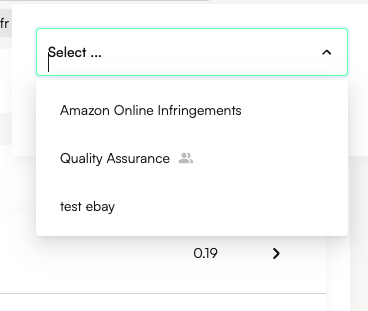
Your saved filter is now available in the Saved Filters list for easy access:
You can modify your saved filters including options to:
Delete saved filter
Rename saved filter
Set as default
Share filter with client users (this is for Corsearch users to enable sharing the filter to client users)
You can modify the name of your saved filters within the platform by hovering on the filter and clicking the pen icon:
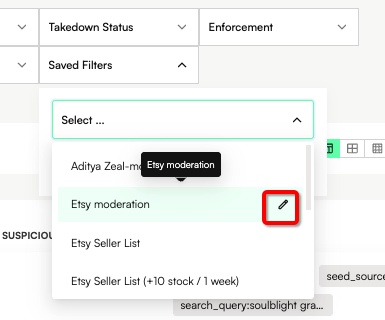
Selecting this option will open the Edit Saved Filter modal. From here, you can update or delete the saved filter. You can also set it as your default filter, which means it will automatically load every time you log in to the application.
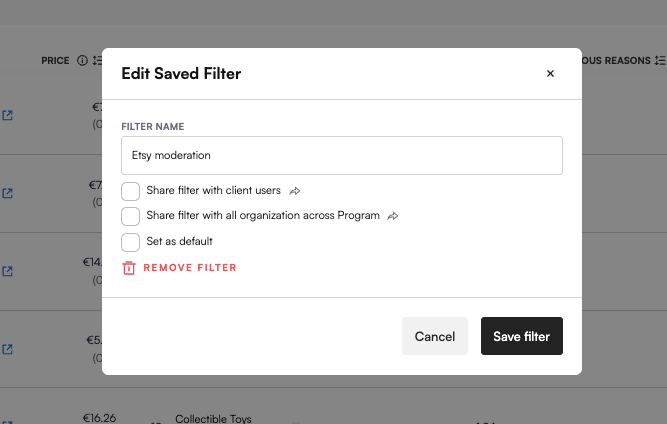
Note: You cannot modify the filters within this saved filter. If you need to make changes, adjust the filters first and then save them as a new Saved Filter.
