Moderation in Zeal is the process of reviewing and labelling content after it has been scraped into the platform. Moderators assign the appropriate labels to images, posts, domains and accounts based on the issues identified.
As more content is manually labelled, Zeal improves its ability to classify similar items automatically through its auto-moderation rules. These rules mirror the logic moderators apply during manual review, allowing the system to detect and tag recurring infringement patterns at scale.
Note: Auto-moderation rules are only applicable to posts. Auto-moderation of images, accounts and websites will come in the future.
Moderation outside of the sample follows a simple workflow—review the post, label image(s) and label the post itself.
Open Post View.
Apply the filters:
Date → Any time → Crawling Date
Moderation → Posts → Un-Moderated.
Note: This shows all posts that haven’t been labelled yet.
Takedown Status → Posts → Up
Labels (exclude) → All
Note: This will exclude all posts that have already been labelled.
Click Search to apply all filters.
Click the Play button to start moderating.
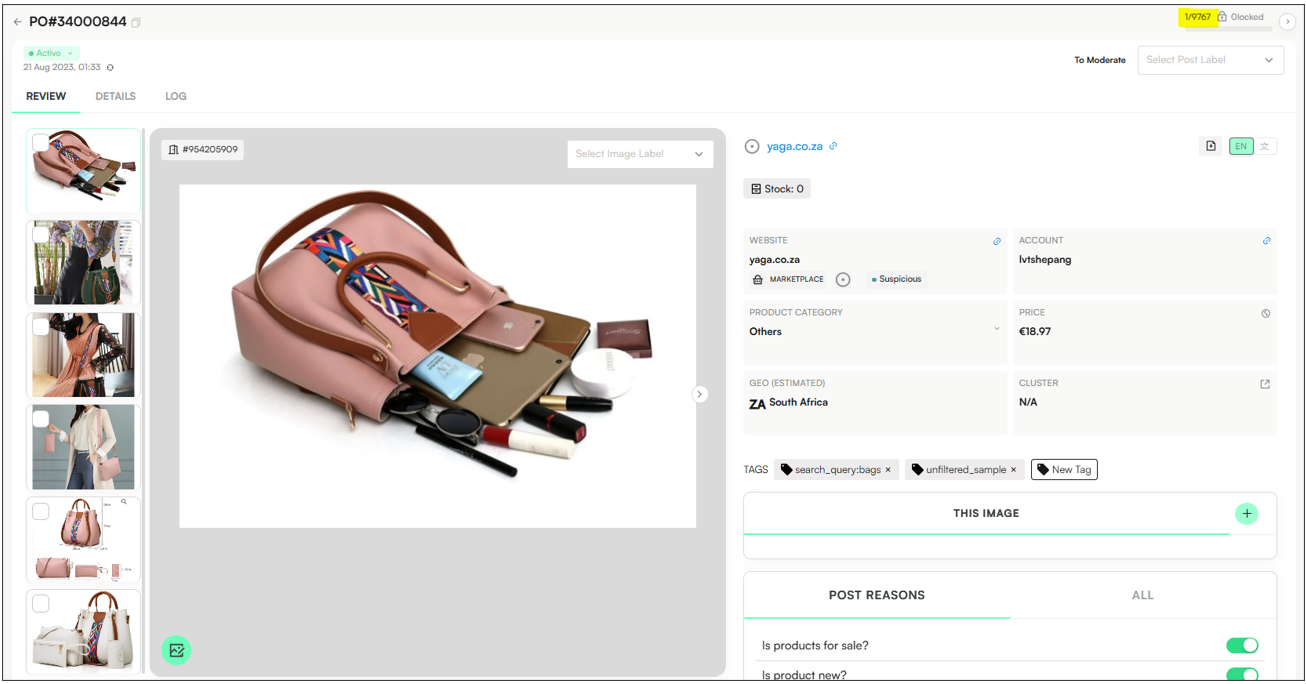
Note: After clicking Play, Zeal will display the first post in your batch—here, 1 of 9767 posts pending moderation.

Apply an image Label
Choose the label that best describes the image. For example:
Counterfeit – if the image clearly shows a fake or infringing product.
Official Photo – if it looks like a protected, brand-owned image.
Suspicious – if something looks off, but you’re not fully sure yet.
Note: You can select multiple images and apply a label to all of them.
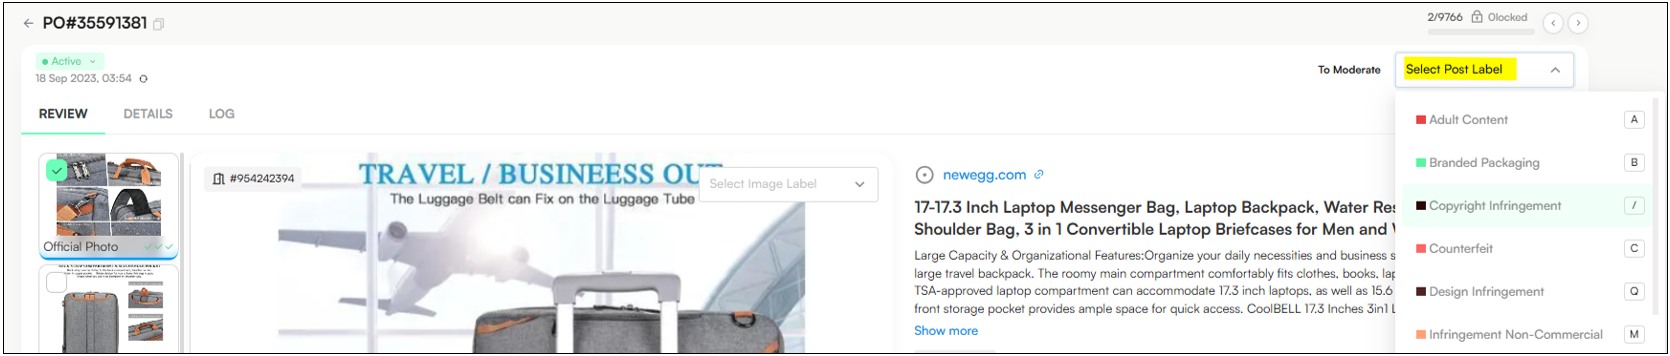
Apply a Label to the Post
Choose the label that best describes its relevance or infringement type.
Labels can indicate both infringing and non-infringing content. For example:
Irrelevant – Use this if the post has nothing to do with your brand.
Out of Scope – For posts that relate to your brand but fall outside your enforcement criteria.
Suspicious – If the post might be infringing but you’re not completely sure yet.
Copyright Infringement – If the post uses protected or official images without authorization.
Labels can be customised for each brand’s specific scope and infringement categories, so choose the option that best fits your review criteria.
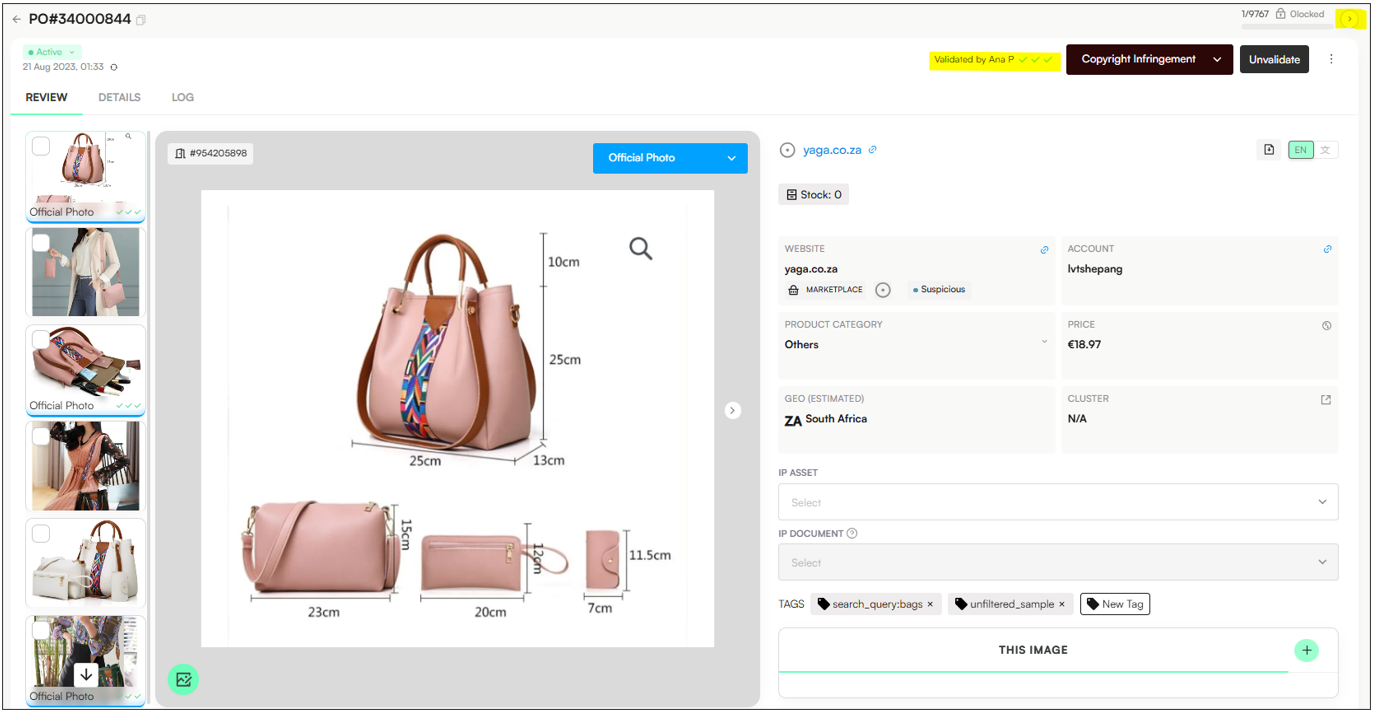
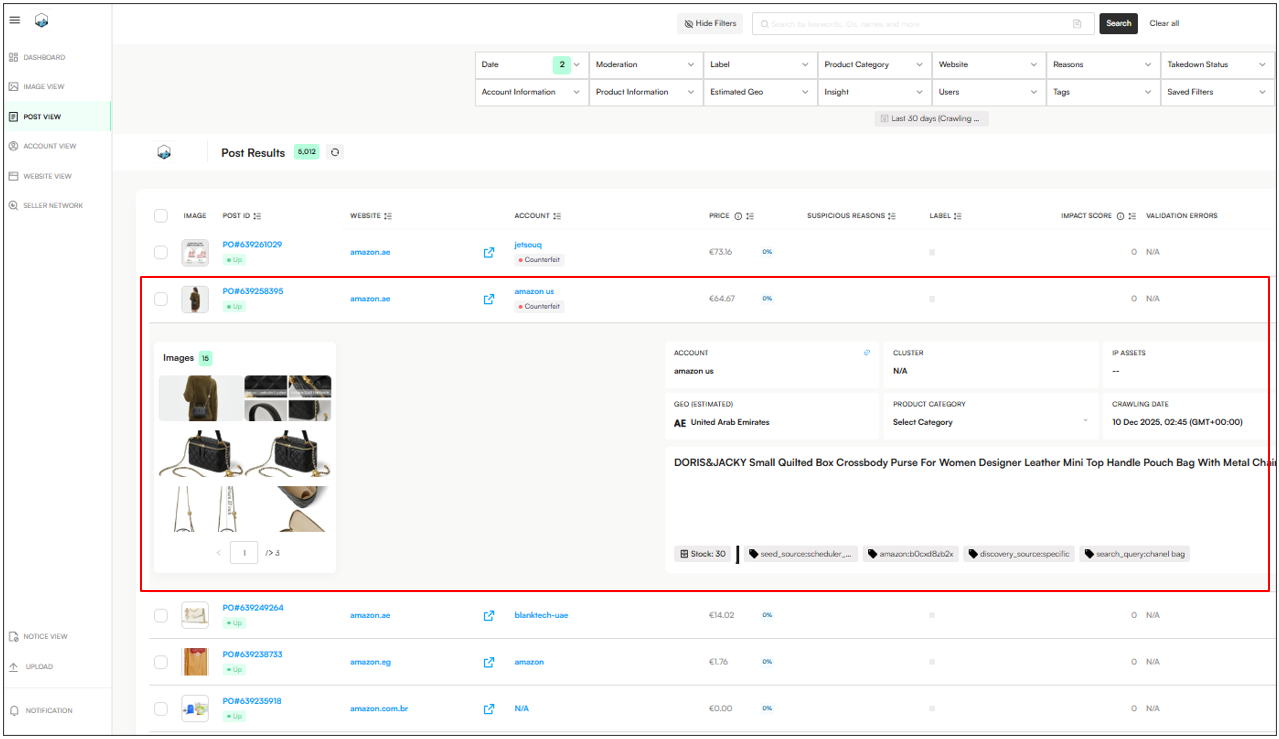
In the example below, the images are labelled Official Photo, while the post itself is labelled Copyright Infringement:
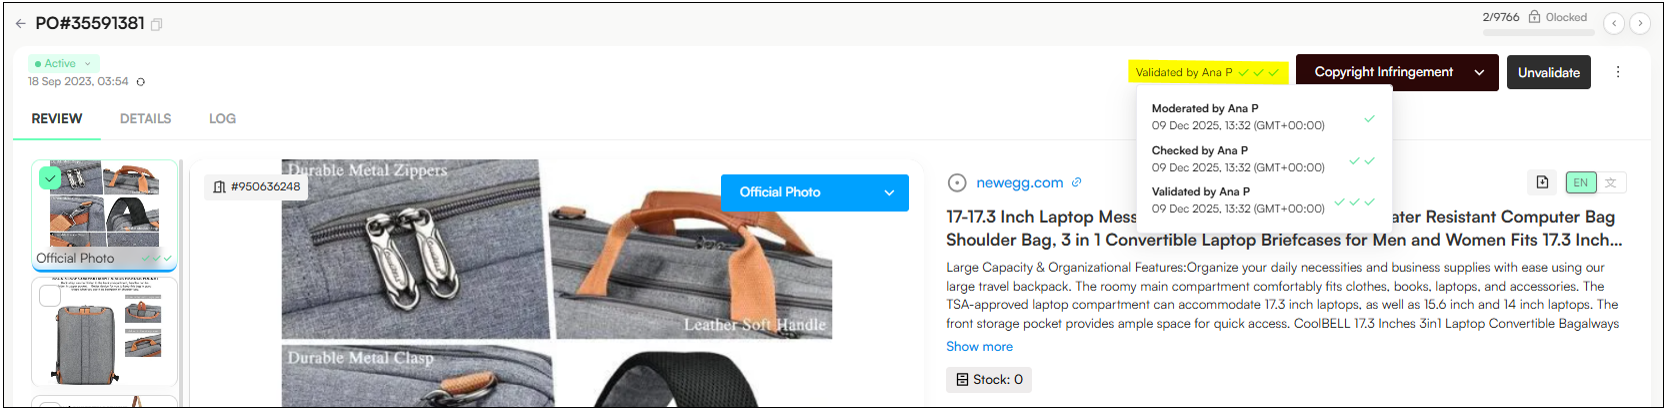
Once a post is moderated (labelled), the page will refresh and present the updated workflow status on the top right of the screen (as shown above).
Posts typically go through several moderation steps:
Moderation (one checkmark) – A moderator reviews and labels the post.
QA Check (two checkmarks) – A Quality Analyst verifies that the post was labelled correctly.
Validation (three checkmarks) – The client reviews the post before any action is taken.
However, if an external user (such as a client) has the Validator role, they automatically skip the QA and validation steps. This is because clients do not require these additional review layers before sending posts to enforcement.
Open Post View.
Apply the filter Date → Any time → Crawling Date
Apply the filter: Moderation → Posts → Un-Moderated.
Note: This shows all posts that haven’t been labelled yet.
Apply the filter: Takedown Status → Posts → Up
Apply the filter: Labels (exclude) → All
Note: This will exclude all posts that have already been labelled.
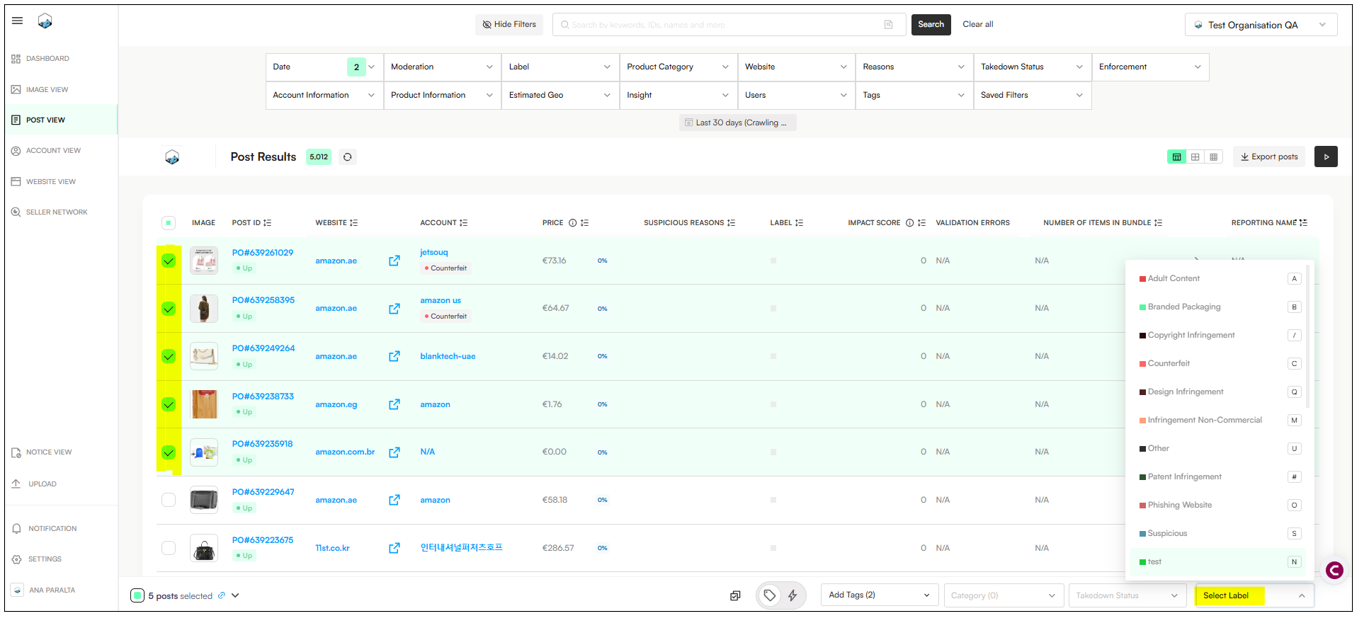
Click on a post to (not on the Post ID, click the blank space directly below it) display the quick-view panel showing minimal information:
Multi-select all the posts you want to moderate
On the footer, click Select Label → Choose one label to apply
Note: When moderating in bulk, you can apply only one label type to all selected listings at once.
Users can also click the Batch Update button in the footer, and apply the chosen label to all selected posts. Here, tags, categories and post status can also be added/edited:
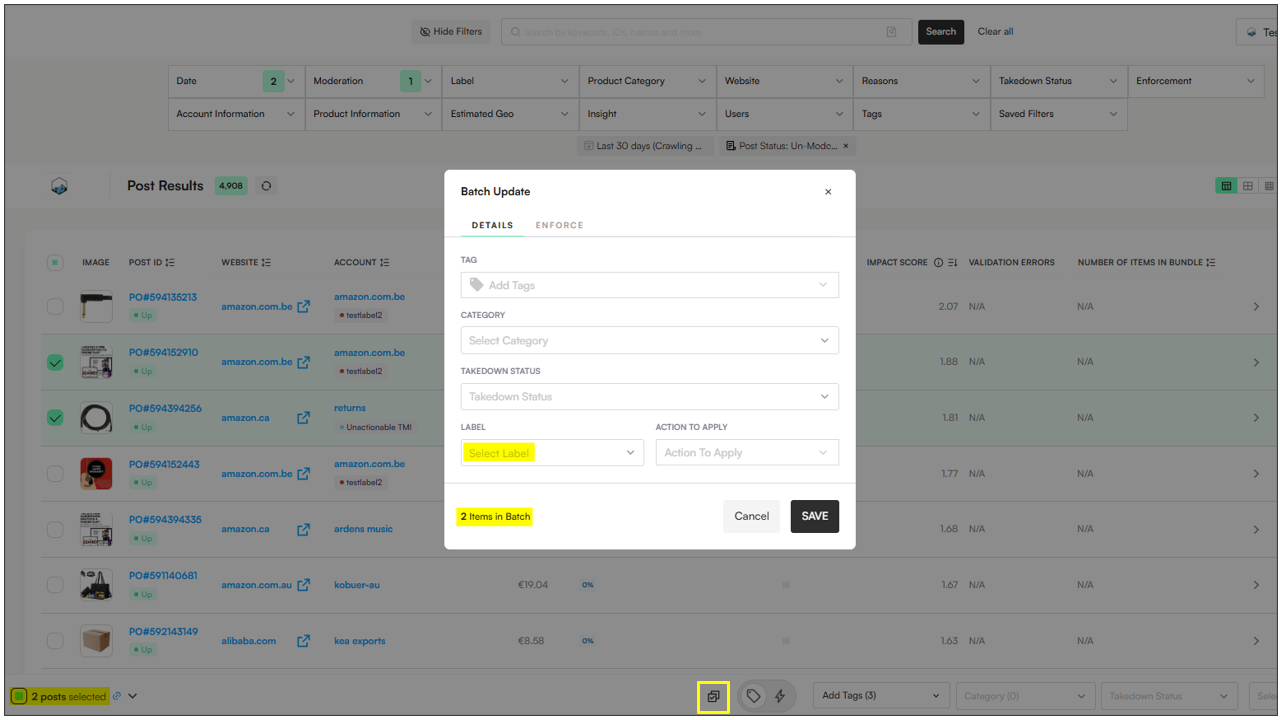
Note: Images cannot be moderated in bulk, only posts.
